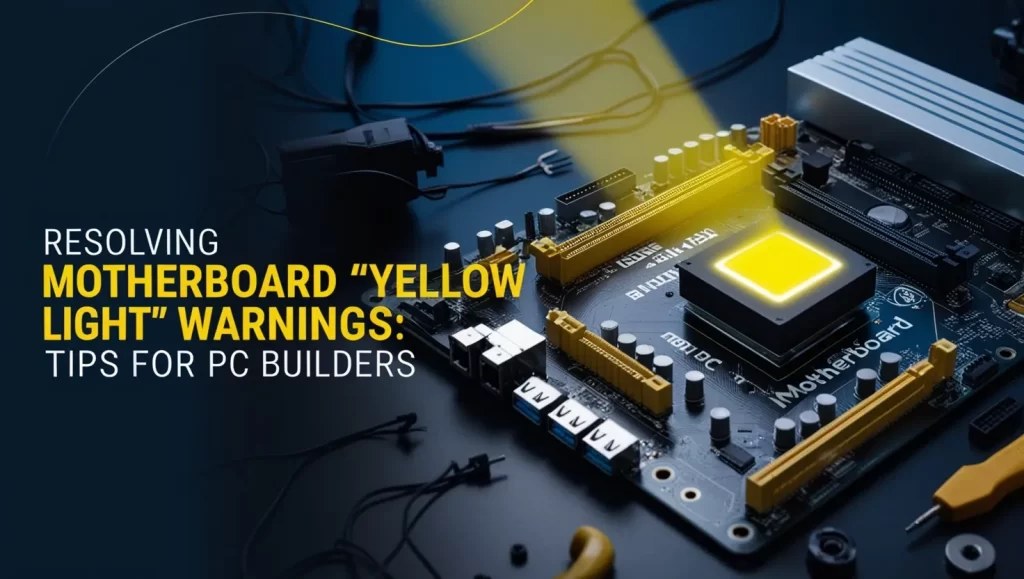
Resolving ‘Motherboard Yellow Light’ Warnings: Tips for PC Builders-For PC builders, encountering a motherboard yellow light warning can be one of the more puzzling and frustrating challenges. A yellow light on the motherboard often signifies an issue that prevents the system from booting up or running properly. Understanding the causes of this warning and knowing how to troubleshoot can save you from costly repairs and keep your build running smoothly. In this article, we’ll explore the most common causes of the motherboard yellow light and provide actionable tips for resolving these issues, so you can get back to enjoying your newly built PC.
What Does the Motherboard Yellow Light Mean?
The motherboard yellow light typically serves as a diagnostic indicator used by the motherboard’s built-in LED system. It’s an important tool for identifying potential problems early on. While each motherboard manufacturer may have different color-coding schemes, a yellow or amber light commonly points to hardware-related issues. These problems may include power supply malfunctions, improperly seated components, or overheating issues.
When the motherboard yellow light appears, it is typically accompanied by the inability to boot the system or other signs of instability. The light may be steady or blink in a specific pattern, depending on your motherboard’s design, which can further help diagnose the issue.
Common Causes of the Motherboard Yellow Light Warning
Understanding the potential causes of the motherboard yellow light can help you narrow down the issue. There are several common problems that could trigger this warning, each of which requires a different approach for resolution.
1. Power Supply Issues
A common culprit behind the motherboard yellow light warning is a faulty or insufficient power supply unit (PSU). If the PSU is not providing enough power to the motherboard or other key components, the system may fail to boot and the yellow light may appear. The issue could stem from an underpowered PSU, a malfunctioning unit, or loose power cables.
PC builds often involve multiple components that require significant power, such as high-end graphics cards, additional storage devices, and powerful processors. If your PSU is not up to the task of supplying enough power for these components, it can cause instability and result in the motherboard yellow light indicator.
2. Loose or Improper Component Installation
When building a PC, it’s essential that every component is securely installed in its respective slot. A loose or improperly connected component can cause a range of issues, including triggering the motherboard yellow light. Common offenders include loose power cables, an improperly seated CPU, or RAM that isn’t fully inserted into its slot.
It’s crucial to ensure that all connections are firmly in place before powering on the system. If the motherboard doesn’t receive power from the PSU or can’t detect a properly connected component, it may display the yellow light as an error. (Read More: Boost Your Display Quality with These Affordable VGA Adapters in 2024)
3. Faulty RAM or Memory Issues
Faulty RAM can also trigger the motherboard yellow light warning. If your motherboard fails to detect the RAM, or if the memory is incompatible or malfunctioning, it may prevent the system from booting properly. In some cases, the motherboard may not be able to initialize the memory, leading to system instability and the appearance of the yellow light.
Issues with RAM can range from misaligned sticks to defective memory modules. Incompatibility between your RAM and motherboard can also be an issue if the memory type, size, or speed is not supported.
4. Overheating and Thermal Issues

Another common issue that can cause the motherboard yellow light is overheating. PC components such as the CPU, GPU, and power supply generate heat during operation, and if these components get too hot, the motherboard may signal a warning with a yellow light.
Overheating can be caused by several factors, such as inadequate cooling, dirty or obstructed fans, or poor airflow inside the PC case. If the CPU temperature exceeds safe limits, for example, the motherboard may activate a yellow light to prevent damage to the components.
5. BIOS or Firmware Problems
Sometimes, the motherboard yellow light warning can be traced back to issues with the BIOS (Basic Input/Output System) or UEFI firmware. A corrupt BIOS, incorrect settings, or an outdated firmware version can prevent the motherboard from properly detecting hardware or initiating the boot process.
If the motherboard cannot communicate with essential hardware components due to a BIOS issue, it may display a yellow light to alert you to the problem. Updating or resetting the BIOS can often resolve these issues. (Read More: Motherboard Light Orange Warning: Troubleshooting Guide)
How to Resolve the Motherboard Yellow Light Warning
Now that we know some of the common causes of the motherboard yellow light, let’s dive into troubleshooting and fixing the issue. Here are some practical tips for resolving the motherboard yellow light warning and getting your PC build up and running.
1. Inspect the Power Supply Unit (PSU)
If you suspect that the power supply is the root cause of the motherboard yellow light, it’s time to investigate the PSU. Start by checking the connections between the PSU and the motherboard. Ensure that the 24-pin ATX cable and the 8-pin CPU power cable are securely plugged in.
Next, test the PSU to see if it’s delivering adequate power to your components. If you have access to a PSU tester, use it to check the power output. Alternatively, swap the PSU with a known-working unit to see if the yellow light disappears. If the PSU is found to be the problem, replacing it with one that provides enough power for your system’s components should resolve the issue.
2. Reseat All Components
A loose or improperly installed component can easily trigger the motherboard yellow light. To fix this, turn off your system and disconnect the power supply. Then, carefully reseat the CPU, RAM, and any expansion cards (such as the graphics card). Make sure all connections are tight and secure.
Take extra care when seating the RAM, as memory modules can sometimes be slightly misaligned, preventing proper contact. Press down gently but firmly on each stick of RAM to ensure they’re fully seated. After reseating all components, reconnect the power and test your system again. (Read More: Motherboard Light Orange Issue: What You Need to Know)
3. Test and Reseat the RAM
:max_bytes(150000):strip_icc()/GettyImages-186284636-ee835274e8d8435597a780edb5303072-5f0e2bfe72ec4e33ab26055785dabe90.jpg)
If you suspect that faulty RAM is causing the issue, it’s time to test the memory. Start by removing all but one stick of RAM. Power on the system with just one stick installed and see if the motherboard yellow light goes away.
If the system boots without issue, the problem may lie with one of the other memory modules. Test each stick individually to pinpoint the faulty RAM. If you find a defective module, replacing it with a compatible and functioning one should resolve the issue.
4. Check for Overheating Issues
If overheating is causing the motherboard yellow light, begin by checking the cooling system. Open your case and inspect the fans for dust buildup or obstruction. Clean out any dust from the CPU cooler, GPU, and case fans using compressed air.
Make sure that all fans are functioning correctly and that airflow inside the case is optimal. You can also consider upgrading your cooling solution if you have high-performance components that generate more heat. Ensuring that your system stays cool will prevent thermal issues and help eliminate the yellow light warning.
5. Reset or Update the BIOS
If a BIOS issue is suspected, the first step is to reset the BIOS to default settings. You can do this by removing the CMOS battery from the motherboard for a few minutes and then reinserting it. This will clear any custom BIOS settings and restore the system to factory defaults.
Alternatively, visit the motherboard manufacturer’s website to check if a newer version of the BIOS is available. Updating the BIOS to the latest version may fix compatibility issues with new hardware or resolve any bugs causing the motherboard yellow light.
Other Considerations for Resolving the Motherboard Yellow Light
If none of these solutions fix the motherboard yellow light, you may need to consider more advanced troubleshooting. Inspect the motherboard for visible damage, such as burnt components or broken capacitors. If you discover any physical damage, the motherboard may need to be replaced.
In some cases, the CPU itself could be faulty or improperly installed, and you may need to reseat or replace it. Always ensure that you’re following the manufacturer’s guidelines when handling delicate components like the CPU.
By following these steps and being methodical in your approach, you can resolve the motherboard yellow light warning and ensure your PC build is fully functional. Remember to check each component carefully, stay organized, and don’t rush the troubleshooting process. With a little patience, you’ll have your system up and running in no time.


